What was that? Did someone say ‘there’s no such thing as simple recipe for French baguettes’? I promise there is, and it only requires 4 (!!!) simple ingredients and no fancy starters or bigas or poolishes, and it’s totally magical! It’s Real Bread Week also, you need to read on, then get baking.
Last year, when I felt ready to graduate from simple yeast breads to more challenging doughs, I researched bread baking books. I wanted to push myself to the next level, but had no idea where to start. Peter Reinhart’s The Bread Baker’s Apprentice was referenced a lot, so off I went to Amazon to buy it. For weeks after it was delivered, I hunched over the glossy pages, excited and daunted in equal measure, to understand the intricacies of each recipe. Also – to convert measurements, hello, metric system! And the first recipe I tried, you ask? Baguettes a l’ancienne, a recipe that Reinhart himself borrowed from master baker Philippe Gosselin.
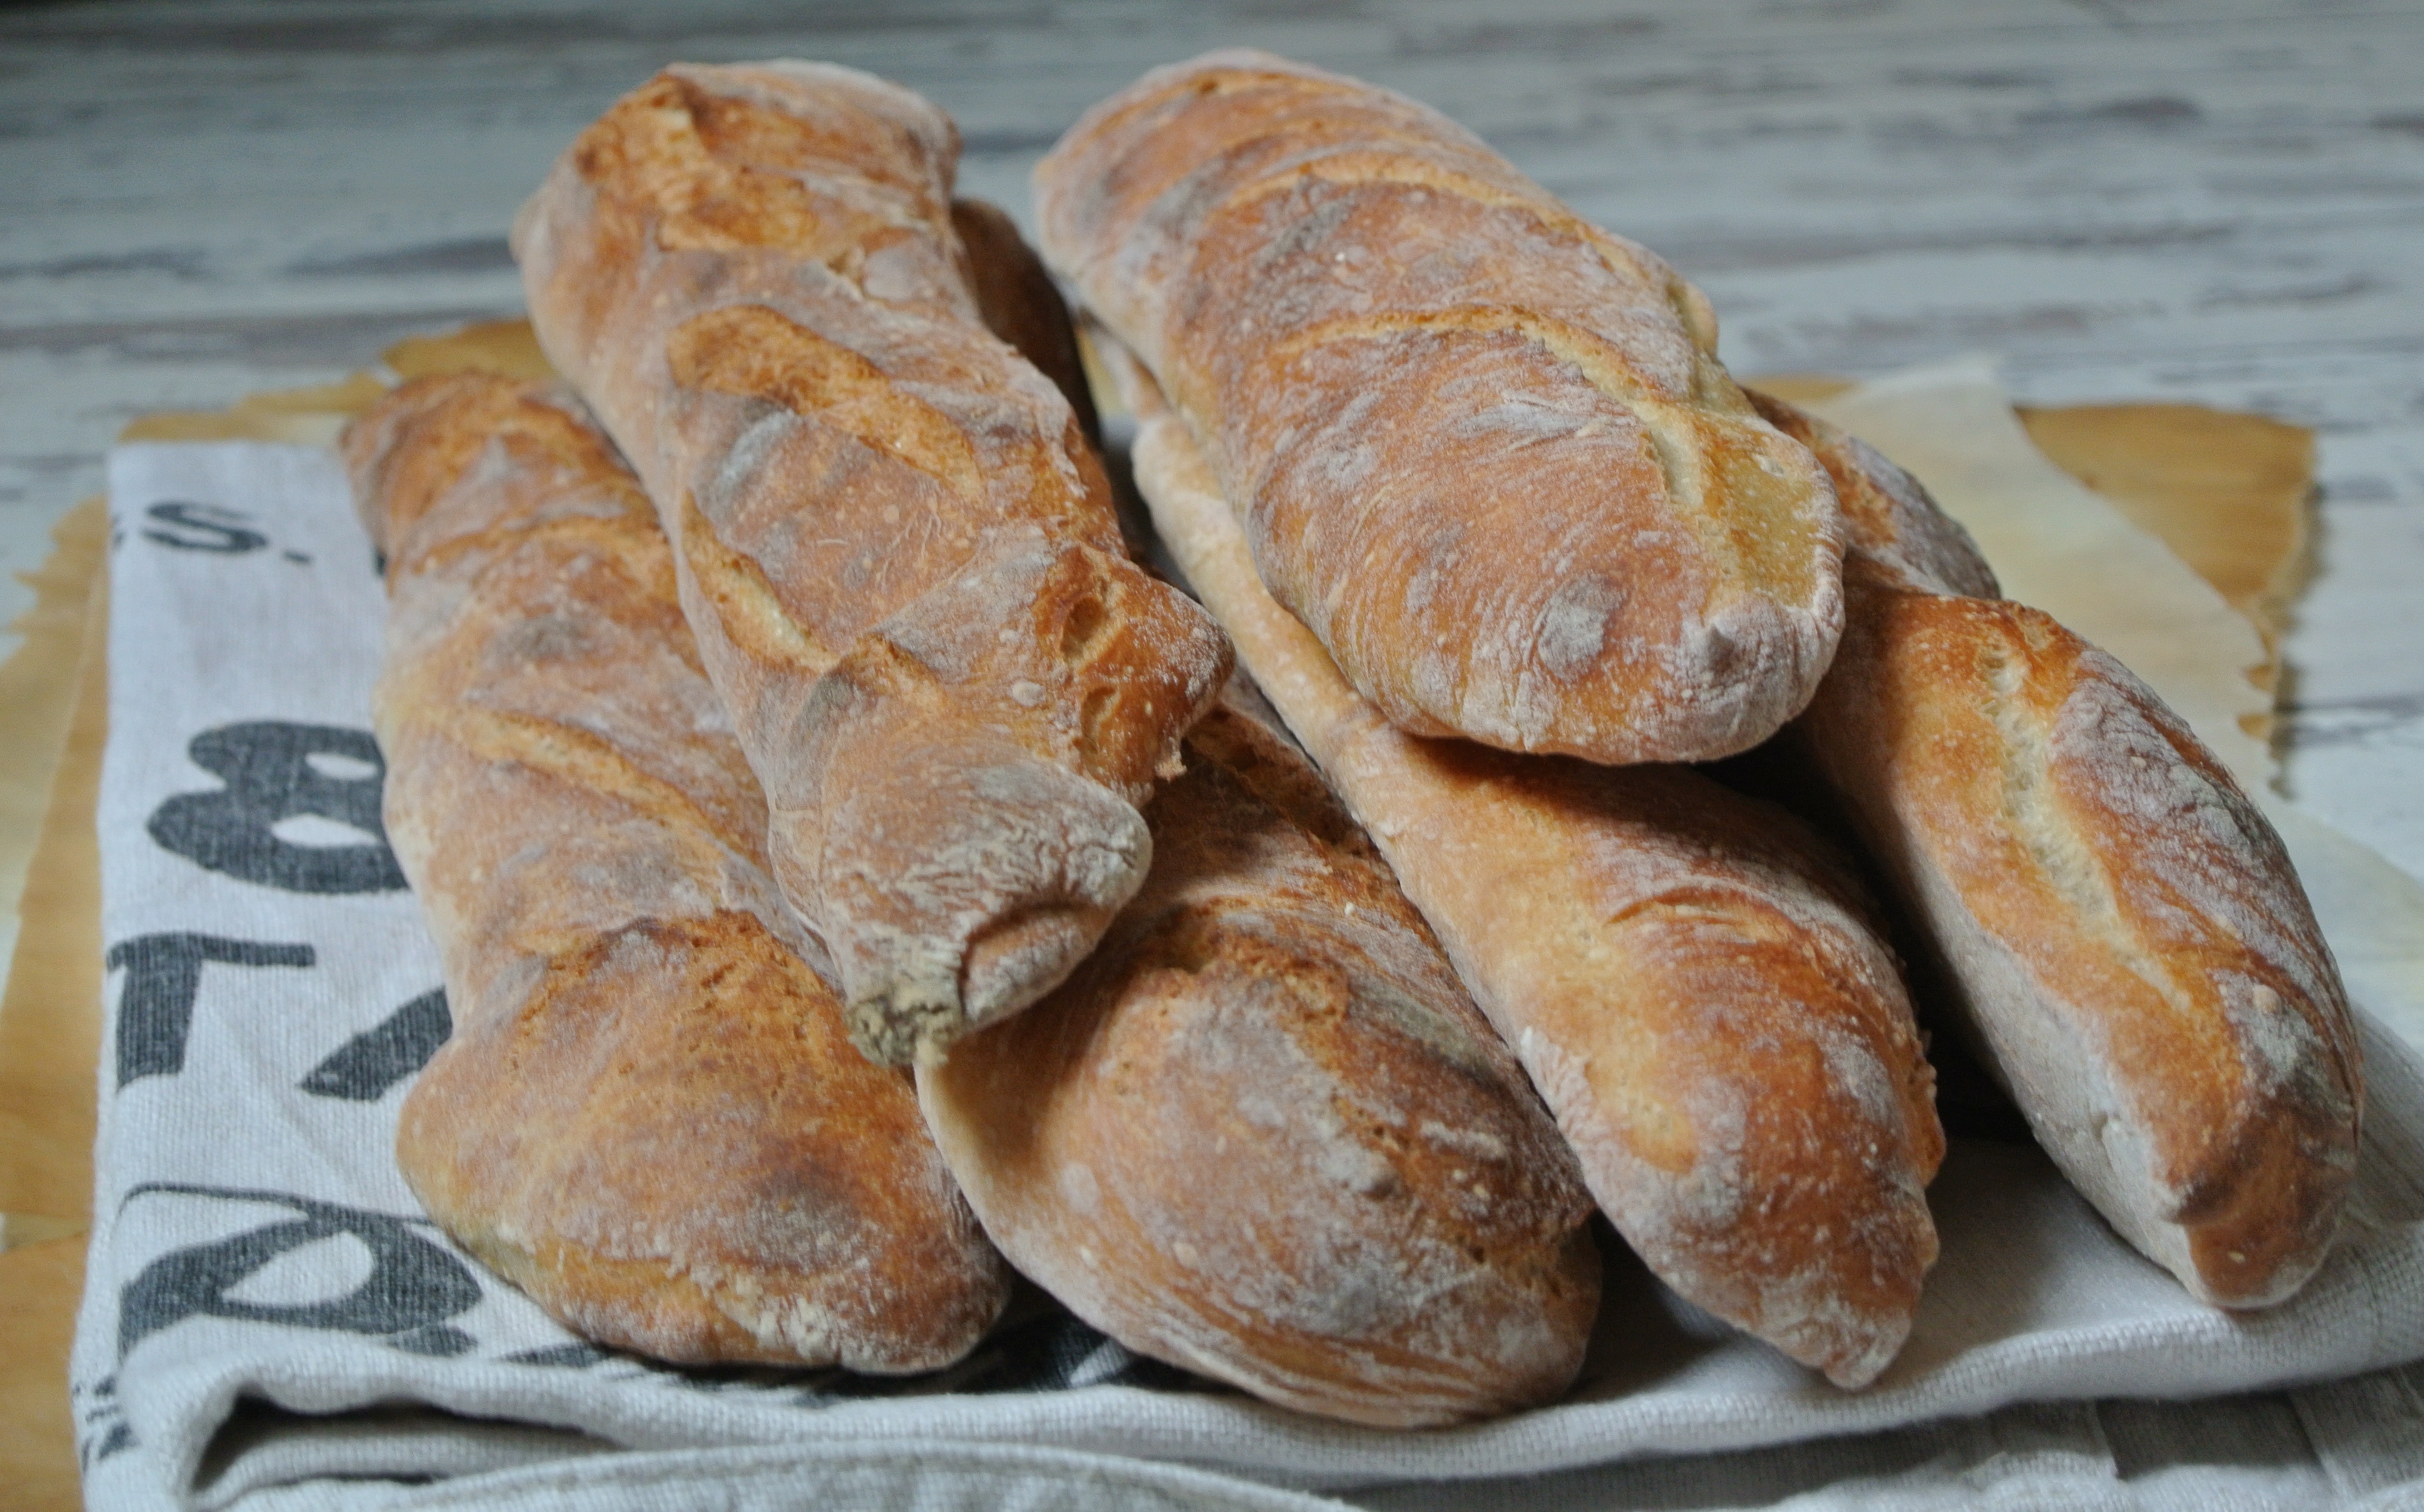
This is a two-day bread making process, however it entails a single dough and very little manoeuvring. Simplicity is the key word for the bake here – 4 ingredients: flour, water, yeast and salt; a long, cold retardation; swift steamy bake and voila, best baguettes you’ll have your hands on. I got it right the first time and I’d only been baking bread for about 3 months then. Take a chance and do it too.
You’ll need:
19 – 24oz cold water, placed into freezer about 10 – 15 minutes before you start mixing
765g strong white bread flour
1 3/4 teaspoons active dry yeast
2 1/4 teaspoons salt
PREPARE THE DOUGH
Mix the flour with the salt and yeast. Add the cool water and combine by hand or in a stand mixer, with the paddle attachment on. You want to do this quickly, while the dough is still chilly.
Once ingredients are well combined, start kneading. Again, a stand mixer works best because of the high hydration of the dough. You’re looking for dough that pulls away cleanly from the sides of the bowl but maintains a foot at the bottom of it.
Oil a deep bowl, turn your dough into it, then cover with plastic wrap and place into fridge. Forget about it for a minimum of 10 hours. I.e. best to prepare the dough in the evening, then finish baking next morning.
After cold fermentation is complete, get bowl out of the fridge and allow for to sit at room temperature for 1 and a half – 2 hours, to de-chill.
PREPARE FOR BAKING
About 1 hour into the process, whack your oven to maximum temperature. Mine goes up to 240C only and it does the job beautifully. If you’re lucky to have an oven that goes higher, that will work even better. Make sure you have two available racks in your oven: one positioned in the middle, which you’ll use for baking, and a bottom rack. On this bottom rack, place an empty pan or an oven tray and leave to heat up.
Boil approx 500ml of water in a kettle and keep to the side.
Flour your work surface well. Don’t skimp. This is a very wet dough and you’ll need the extra flour to work it.
Line a baking sheet with baking paper, sprinkle bread flour or semolina on top. Alternatively, flour an oven tray well. Keep close to hand.
SHAPE & BAKE
Flour your hands. Turn your dough onto the work surface. Gently pat the dough into a square or rectangular shape. Divide this into two portions – I use a dough cutter, but you can use any knife that has a wide blade. When dividing, try to cut by pinching the dough, rather than sliding the blade through, which causes the dough to drag along the surface and lose shape. Set one half of the dough to the side and cover with a cotton tea towel or plastic wrap.
Pat the remaining half into a rectangle / square again. Divide into 3 equal portions. Gently stretch one portion to size and place on the baking sheet or oven tray you’ve prepared. Repeat with the remaining two portions – stretch and place onto sheet.
Because the dough is quite wet, you might not feel confident about scoring the baguettes. Not to worry, they’re ready to go in the oven as is. Place them on middle rack in the oven. Then, using oven mittens, pull out the tray at the bottom with one hand, while pouring the boiled water from the kettle with the other hand. Place back into oven as quickly as you can and close the oven door.
Leave the oven on full temperature for 10 minutes. Reduce the temperature to 220 – 225C. You can also take out the tray of water; this has fulfilled its purpose to create steam in the oven and give the baguettes their crispy crust.
Baguettes might need an 180-degree turn about half way through the bake to ensure even baking. They shouldn’t need more than 30 minutes to bake altogether.
Remove from oven and leave to cool on a rack.
Repeat with the second half of the dough. Remember to put the oven temperature back to maximum after you take out first batch, boil another kettle of water and prepare your baking sheet again.
Reinhart says the baguettes are perfect about 3 hours after baking. I wish I could say I tested his theory. I’m good with waiting overnight to bake them, but no way I’m waiting a few more hours before I dig in. I won’t complain if you don’t either.
It’d be swell if you decided to give the recipe a go. You’ll have amazing bread made with your own two hands (and a mixer), full of incredible, healthy goodness and you’ll support Real Bread Week. What’s not to love?


I love this!!! Must try! Thank you for following me but my actual blog is nataschaspalace.com 😍😍😍😍
LikeLike
Thank you! Bang flavour for the effort, believe me! And yes, followed you – already spotted some cookies I need to try. And the anise doughnuts! Have a good one!
LikeLiked by 1 person
Thanks a million! You too 😘😘😘😘😘
LikeLike